As of December 15, 2011 the man of my dreams proposed! I couldn't be happier about my life at this very moment. I am creating this blog to remind me of the good, the bad, and the ugly times while my fiance and I plan our wedding. I have a rather demanding schedule that includes: working 40 hours a week, taking 4-5 classes each semester (those are all art courses that are about 6 hours per class per week NOT including projects), and holding a leadership role in Barrio Dogs, to whom I donate most of my free time to. With that being said, my new status as an engaged gal will be adding brand new challenges to my life that I will be happy to share with anyone reading.
The most recent DIY project came a little after one of our engagement celebrations. We decided to save the cork of the champagne bottle we drank with my family to celebrate! Lets get to it:
Step one: Pop the bubbly and enjoy with family. Done!
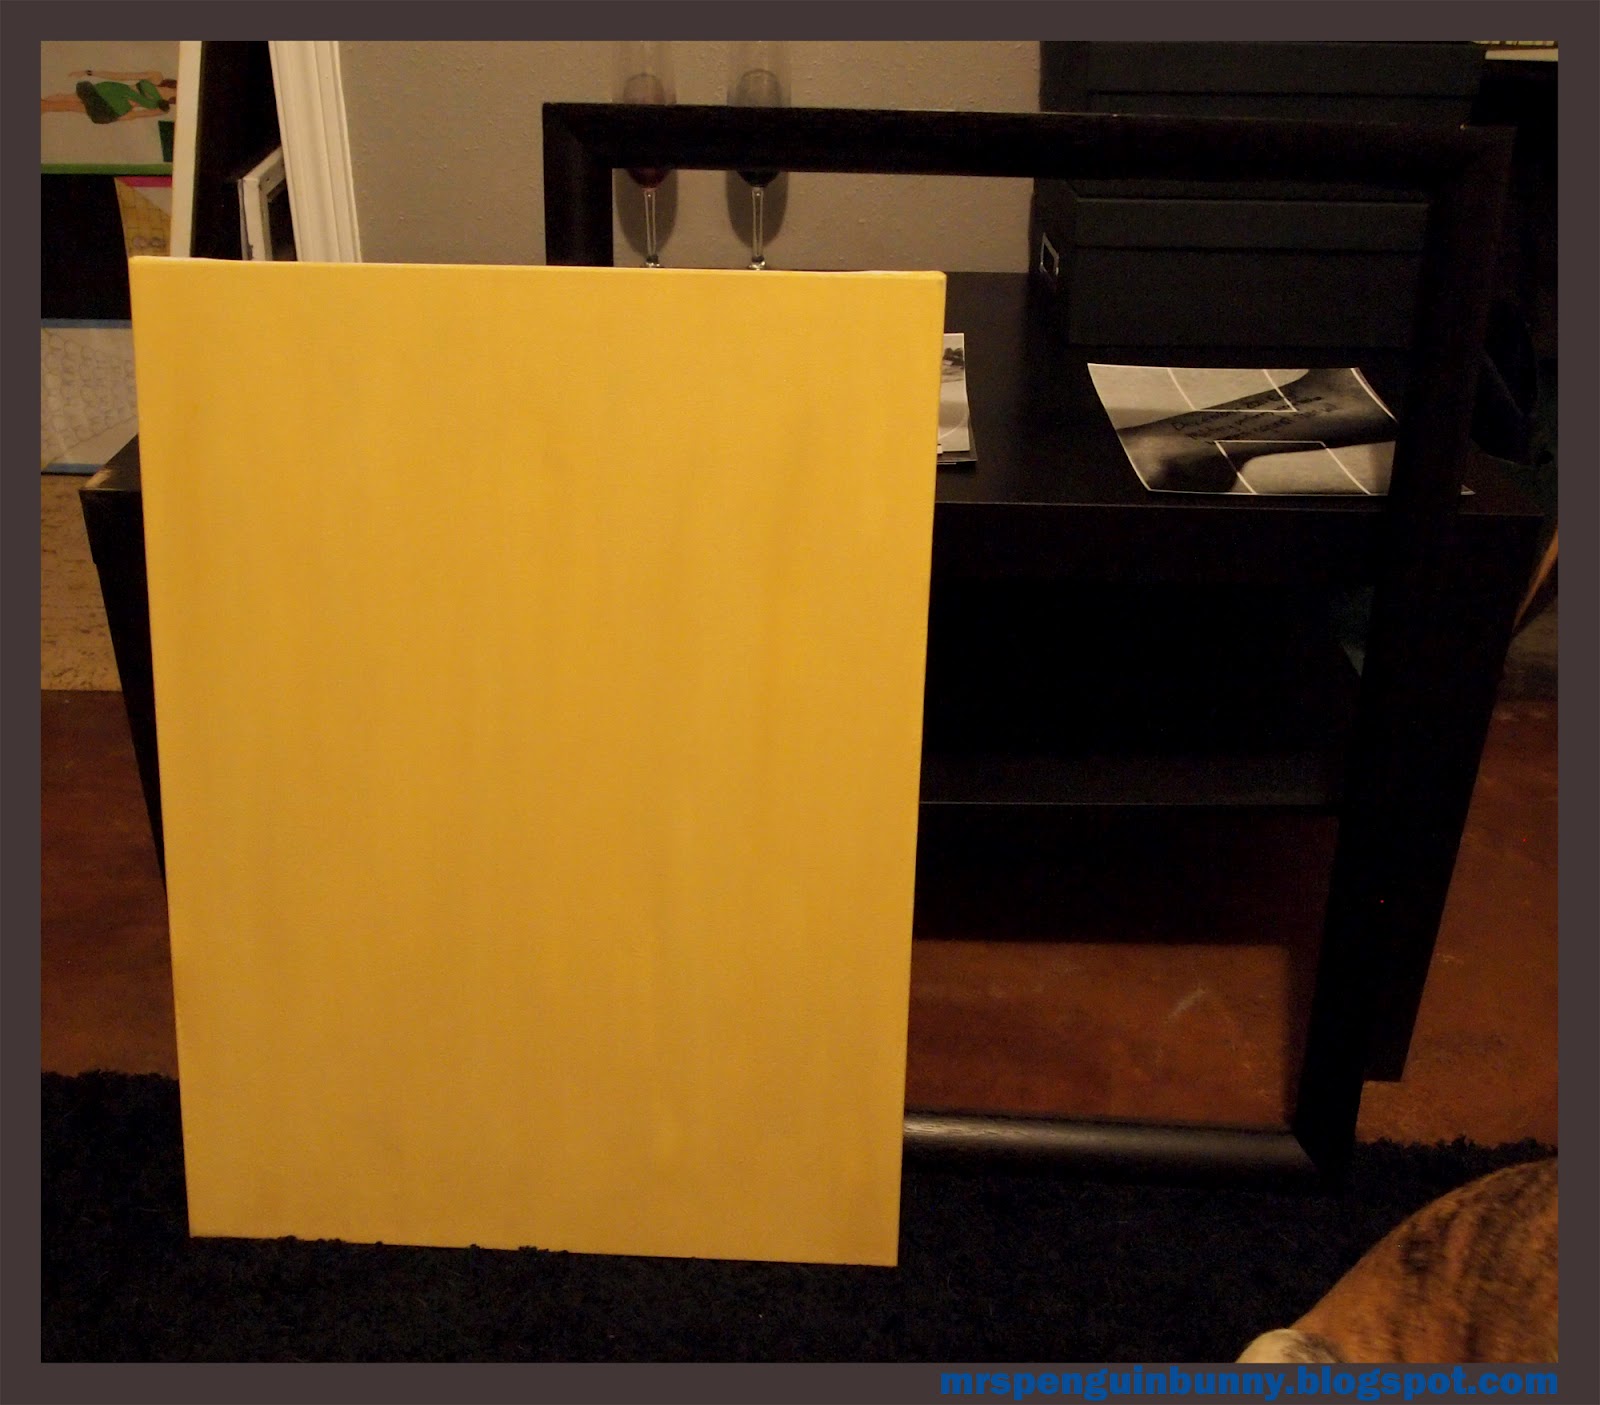
Step Two: Gather your supplies.
Here are mine:
2 12x12 sparkly pieces of scrapbook paper
Shadow box (not pictured)
Engagement stickers
Sparkly script letters
Glue/Tape
Paper trimmer
OH! and the cork of course.
 |
| Took this after I had finished the project woops! |
Step Three: Measure the inside panel of your shadow box to ensure you cut your background piece to the right size. Mine was a simple 5 by 7. Because I used a dark blue I decided to cut some ivory pieces to place the cork and date on. I measured the cork and cut a rectangle. Then I measured out the date and the sticker I was using and cut a second rectangle. It took a few tries to center the letters and stickers but finally they were stuck* on and ready to be placed on the back of the box.
(*I hard first tried double sided tape and after a day the rectangles fell due to the weight. Super glue worked much better. DUH!)
 |
| Mr. PenguinBunny was busy cooking and I took over the dinner table! |
Step Four: If you are a tad OCD like I am you will eyeball, measure, eyeball again, remeasure and finally glue down your pieces. Glue the cork to its perfect spot and you are basically done!
Step Five: Place in your frame and display! Tell your fiance to come look at your amazing piece of work, open a bottle of wine and enjoy the dinner he cooked. :) Mine does the cooking in the household, I just provide the art work and crafts.
I have to say I really enjoy seeing this guy when we walk out of our bedroom. This sits on a corner shelf that is filled with pictures of our adorable four legged children and a couple of ceramic projects from class. Whenever I look at it the memory of that date makes me smile. The end.
Toodles,